This tutorial has been updated November, 2019.
In this part, we will setup an environment to create a Phaser 3 game.
Before we dive in, we need a web server of some sort in order to run our game. This is necessary because we don’t want any malicious JavaScript to read our file system from within the browser. Phaser’s website has a great guide on the web server portion of the setup.
Adding Initial Files and Folders
Second, create a directory to house our project. The directory should be made in a location where the web server you installed can serve from. At this point, if you would like to use an NPM-based project template, you can jump skip this part of the tutorial and jump down to the heading, “Setting Up Phaser.” I go on to explain how to setup the template. You don’t need to create a folder here as you would be cloning a GitHub repository. Otherwise, we will proceed with creating a folder and our files manually.
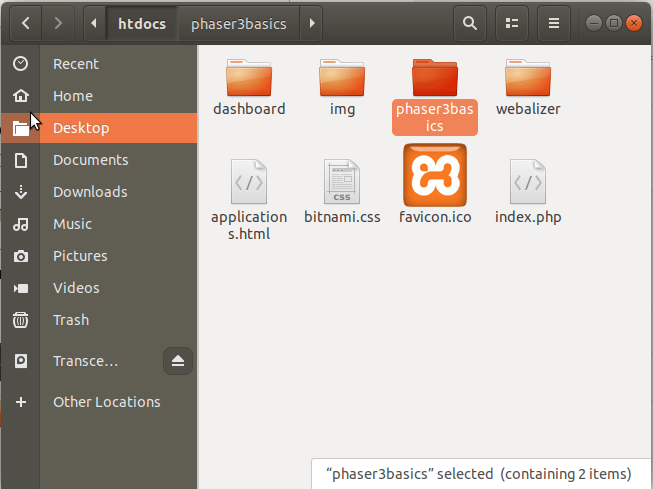
If I’m using XAMPP or MAMP, I would create a folder in the htdocs directory. Other web servers may have different locations for serving files.
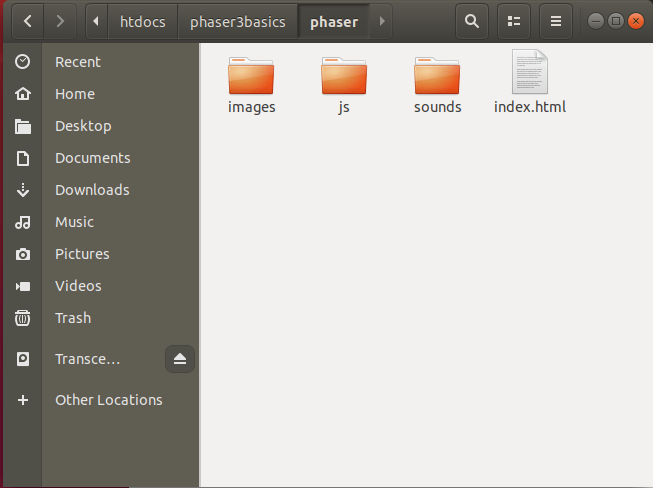
Then, create two files in our project directory: index.html and game.js. The .html and .js extensions are very important. The .html extension denotes an HTML file and the .js extension represents a JavaScript file. Create a folder for images of be used. Name it anything you wish, I usually name my folder for images pretty simply — images. Last, create a folder for sounds to be used as well. Like the images folder, name the sounds folder anything you like.
Once our files are created and are in the proper places, we can open our index.html file. Feel free to use any text or code editor you wish. Personally, I enjoy using Visual Studio Code since it’s clean, lightweight, and fast.
In the index.html file, add the following boilerplate code:
<!DOCTYPE html>
    <head>
        <meta charset="utf-8">
        <meta lang="en-us">
        <title>My Awesome Game</title>
    </head>

    <body>

    </body>
</html>
What you would add to the index.html file next depends on how you want to add the Phaser script. See below for the different options.
Setting Up Phaser
Linking via a CDN
Perhaps the fastest way to get started with Phaser is fetching the framework from a content delivery network (CDN). Photon Storm currently has Phaser hosted on the jsDeliver CDN. All you have to is add the following line to the body of your index.html document.
<script src="//cdn.jsdelivr.net/npm/[email protected]/dist/phaser.js"></script></pre>As of the time of updating this article (November of 2019), Phaser 3 version 3.20.1 is out. Of course to receive the latest version, you need the latest link. You can find the CDN link to the latest Phaser 3 version here.
Utilizing the Phaser 3 Project Template (NPM)
Phaser 3 games can also be made using a convenient project template built by Photon Storm! All you have to do, is ensure you have NodeJS/NPM installed, then clone this repository. Once you have cloned the repository, run npm install from within the cloned directory. After that, just run npm start. You will be able to view your game at localhost:8080. If you are a regular NPM user (or even if you’re not), using the Phaser 3 Project Template can be a convenient option to get your game up and running.
Using the Script File Locally
To download Phaser for local use, navigate to the Phaser 3 GitHub repository. Click the “dist” folder. We can pick one of two files to download: phaser.js, or phaser.min.js. The difference is that phaser.js contains a uncompressed version of the Phaser framework. This is useful for contributing to the project, and for checking implementation details. The file phaser.min.js is compressed and is meant for distributing your game. Either file will work for our purposes. To download a file, simply click on it and click “Download” or “Raw.” After that, right click the page with the code and click “Save Page As.” Save the file into the js folder inside the project directory we made. Then, in our index.html file, add the following line between the tags in order to link our script:
<script src="js/<FILE NAME OF SCRIPT YOU DOWNLOADED>.js"></script>Obviously, you will need to replace the file name with the name of the script you downloaded, including the .js file extension.
Ready to Tinker with Phaser 3
Everything we need is setup and ready to go for our Phaser 3 project! You can find all the other parts of this series here. The next step would be to write the boilerplate code in this tutorial. If you like what you’ve read so far, consider subscribing to our newsletter. Our newsletter brings you the latest news regarding our tutorials and courses. Sharing this guide on social media would also be highly appreciated, of course only if you found it helpful.