If Game1.cs is not already open in your code window, you can navigate to it via the Solution Explorer. Once Game1.cs is displayed, add the following to the using statements at the top:
using Microsoft.Xna.Framework.Audio;
using System.Collections.Generic;
using System;
We will need the audio part of MonoGame in order to load and play our sounds. We also specify that we want to use “System.Collections.Generic”. We will need this to create lists to hold objects in our game. We will be using “System” for randomly generating numbers. Before we get too ahead of ourselves, let’s define the fields we’ll use for referencing our images (textures). Add the following under the SpriteBatch definition, “SpriteBatch spriteBatch;”:
private List<Texture2D> texBgs = new List<Texture2D>();
private Texture2D texBtnPlay;
private Texture2D texBtnPlayDown;
private Texture2D texBtnPlayHover;
private Texture2D texBtnRestart;
private Texture2D texBtnRestartDown;
private Texture2D texBtnRestartHover;
private Texture2D texPlayer;
private Texture2D texPlayerLaser;
private Texture2D texEnemyLaser;
private List<Texture2D> texEnemies = new List<Texture2D>();
private Texture2D texExplosion;

public SoundEffect sndBtnDown;
public SoundEffect sndBtnOver;
public List<SoundEffect> sndExplode = new List<SoundEffect>();
public SoundEffect sndLaser;

private SpriteFont fontArial;
From this point on, I will be calling the images we’ve added to our pipeline as textures. When we reference textures in our code, they will be the correct type, “Texture2D”. This is very important. Notice how all of the texture fields are private. We won’t be accessing these fields from within other classes, so we don’t have to bother making them public.
In order to grab the textures and sounds from our project’s pipeline, we will have to interface with the ContentManager, which allows MonoGame to interact with the pipeline. In our case, we will be using the Load method of the ContentManager, which we can access using the Content instance. This might sound pretty confusing. No worries though, we will simply be loading our content like so:
= Content.Load(“filename without extension”);
Not too bad, right? We will be loading our sound effects and SpriteFonts (our game’s font(s)) quite similarly, but instead of using the Texture2D class, we will utilize SoundEffect and SpriteFont. Let’s put this into practice! In the LoadContent method, right under the line:
// TODO: use this.Content to load your game content here
// Load textures

for (int i = 0; i < 2; i++)
{
	texBgs.Add(Content.Load<Texture2D>("sprBg" + i));
}

texBtnPlay = Content.Load<Texture2D>("sprBtnPlay");
texBtnPlayDown = Content.Load<Texture2D>("sprBtnPlayDown");
texBtnPlayHover = Content.Load<Texture2D>("sprBtnPlayHover");

texBtnRestart = Content.Load<Texture2D>("sprBtnRestart");
texBtnRestartDown = Content.Load<Texture2D>("sprBtnRestartDown");
texBtnRestartHover = Content.Load<Texture2D>("sprBtnRestartHover");

texPlayer = Content.Load<Texture2D>("sprPlayer");
texPlayerLaser = Content.Load<Texture2D>("sprLaserPlayer");
texEnemyLaser = Content.Load<Texture2D>("sprLaserEnemy0");

for (int i = 0; i < 3; i++)
{
	texEnemies.Add(Content.Load<Texture2D>("sprEnemy" + i));
}

texExplosion = Content.Load<Texture2D>("sprExplosion");
As I mentioned before, we can load our sounds in the same way. Add the following:
// Load sounds
sndBtnDown = Content.Load<SoundEffect>("sndBtnDown");
sndBtnOver = Content.Load<SoundEffect>("sndBtnOver");
for (int i = 0; i < 2; i++)
{
	sndExplode.Add(Content.Load<SoundEffect>("sndExplode" + i));
}
sndLaser = Content.Load<SoundEffect>("sndLaser");
Plus, we can load our single sprite font similarly:
// Load sprite fonts

fontArial = Content.Load<SpriteFont>("arialHeading");
If we run the game now, we’ll see an error claiming ‘arialHeading’ does not exist. This is where sprite fonts come into play. Let’s open up the content pipeline for our project, and click the “New Item” button in the toolbar.
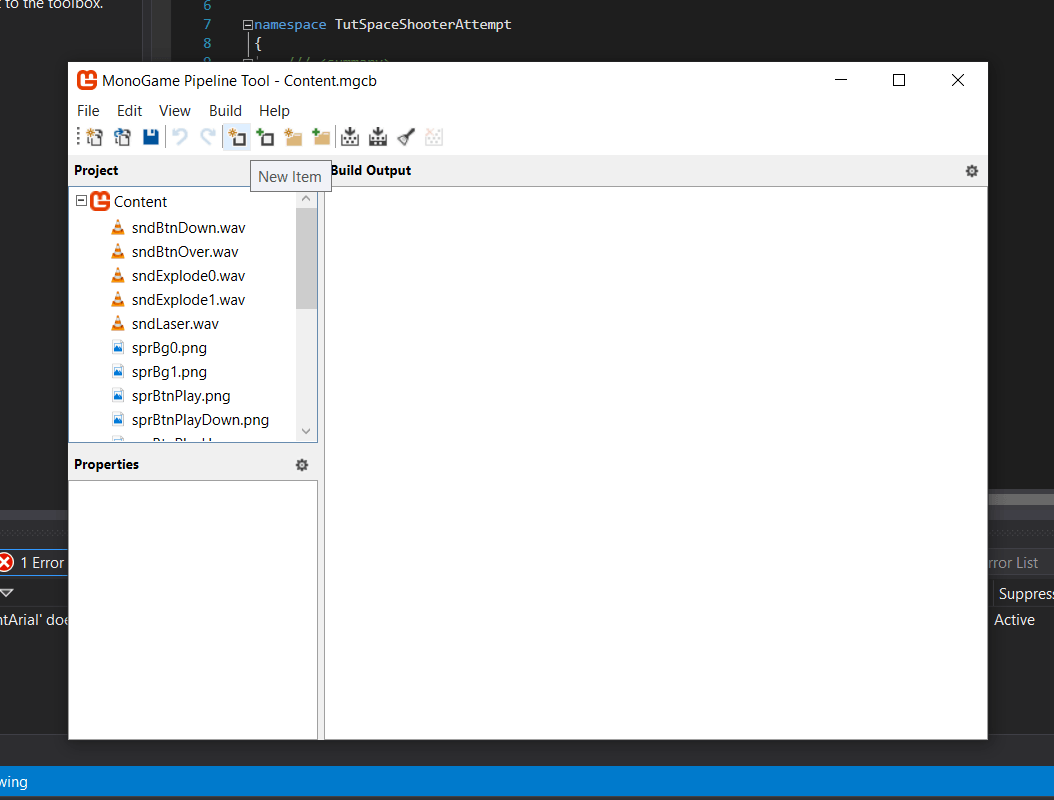
A popup window should appear prompting you to name and select the type of file you wish to add. Choose “SpriteFont Description (.spritefont),” and name the file, “arialHeading”.
![]()
Once you’ve selected the SpriteFont option, and named the file “fontArial,” we can click the Create button. Our new SpriteFont file will be added to our project list. We will want to increase the font size though, since this font will be utilized for our title. Right click “arialHeading.spritefont” in our pipeline project, then click “Open With”. Choose a text editor or code editor of your choice, anything works. Then click OK or the equivalent on your operating system, and the file should open in the editor you chose. I myself has chosen to use Visual Studio Code, which is a fantastic, fast code editor. At this point we should be seeing the following text:
![]()
Change the value between the tags from 12 to 32. We can also change the value of the element to Bold. Save this file, and exit out of the editor you were using and let’s go back to the pipeline tool.
Build the pipeline project, then let’s head back to Game1.cs in Visual Studio.
Now let’s keep going with part three.