INTRODUCTION
In this course, we will be creating a space shoot-em-up game with MonoGame! MonoGame is an open-source implementation of XNA, and has a very active community surrounding it. Before we get started, it will be important that you have MonoGame installed. If you need to install MonoGame on Windows, you can check out our installation guide, otherwise the installers for other platforms should be similar. If you are using Mac OS or Linux, you can find the download links on this page (for version 3.7.1 as of May 4, 2019), here.
SETTING UP THE PROJECT
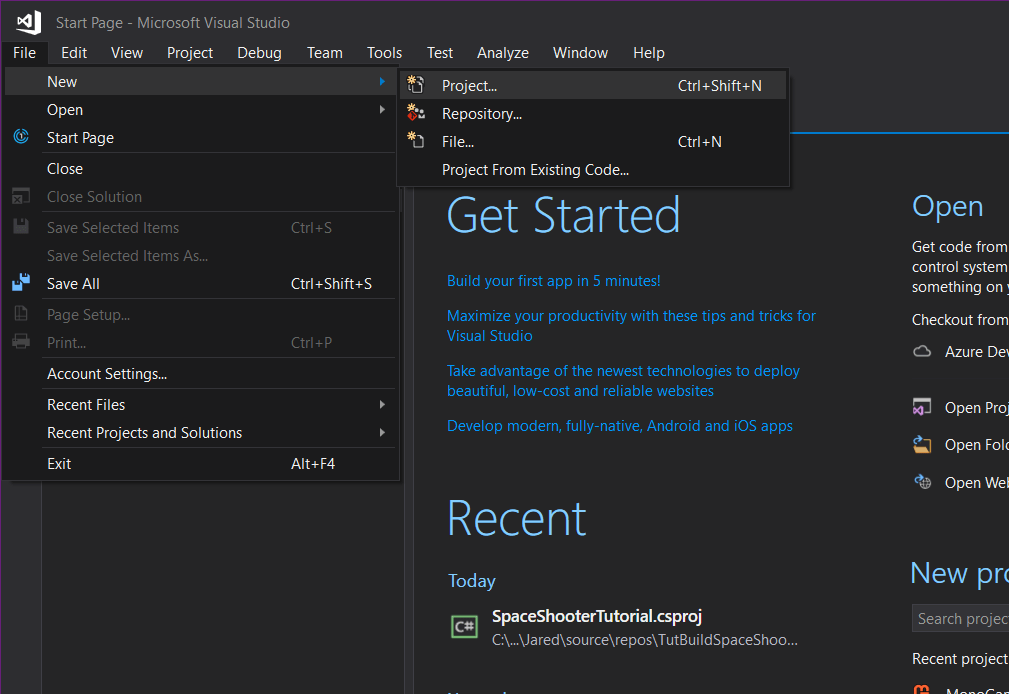
The next thing we have to do is setup the project. In Visual Studio, select File > New > Project…
A new window should pop up allowing you to choose a project template. What we want to do is expand the Visual C# dropdown on the left sidebar, then select “MonoGame Cross Platform Desktop Project.” This project template will tell MonoGame to use OpenGL meaning we can run the game on not only Windows, but also Mac and Linux! Your screen should now look similar to:
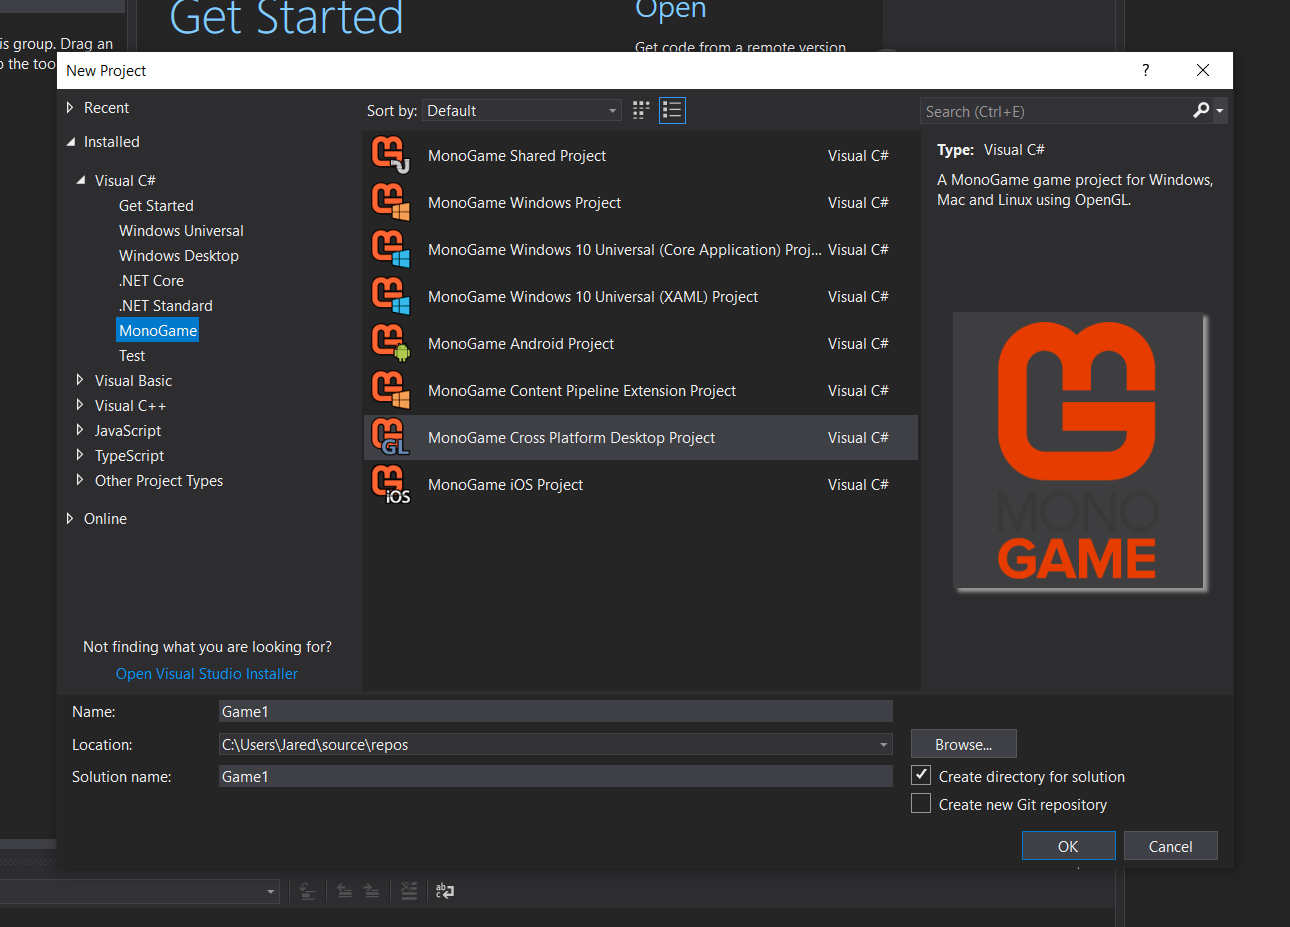
The next step is to name the project. To do this, you can fill out the text box next to the “Name” field on the bottom of this window. Don’t worry about the “Solution name” field, Visual Studio will fill this in for you. Once you’re ready, click the OK button.
For this course, we will also need to download the content for our game (images and sounds.) The content is freely available for download here.
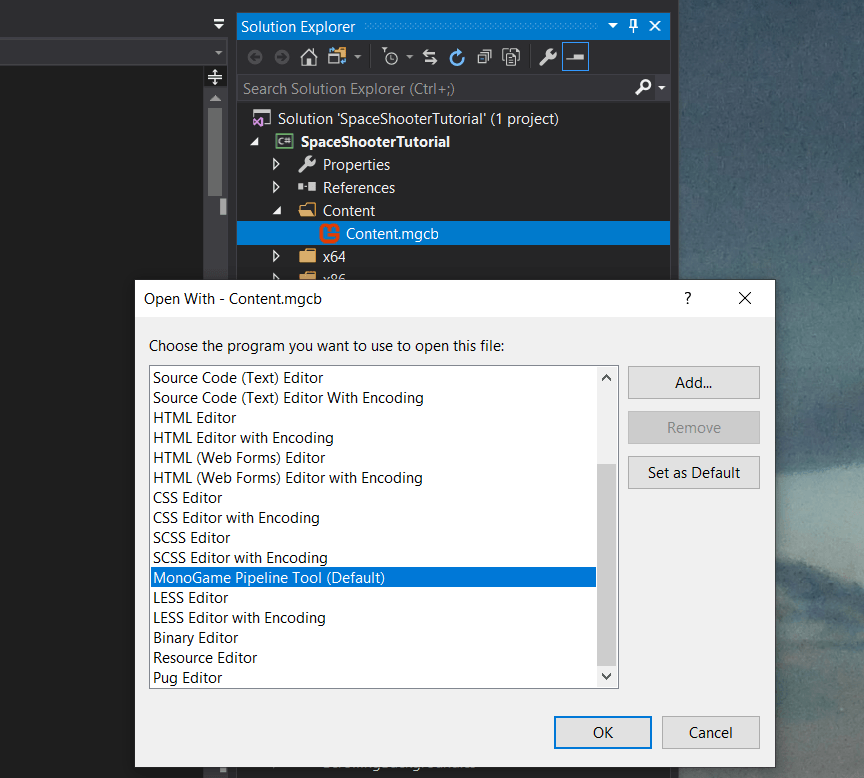
In order to add our content to the game, we will have to provide it to the MonoGame Pipeline Tool to add it to our project. I would recommend expanding the Content folder of our project (within the Solution Explorer of Visual Studio), right click “Content.mgcb”, then click Open With… A new dialog should appear, where you can click on “MonoGame Pipeline Tool.” Once that option is selected, if I were you, I would set that option as default via the associated button.
At this point, you should see the following in the “Open With” dialog:
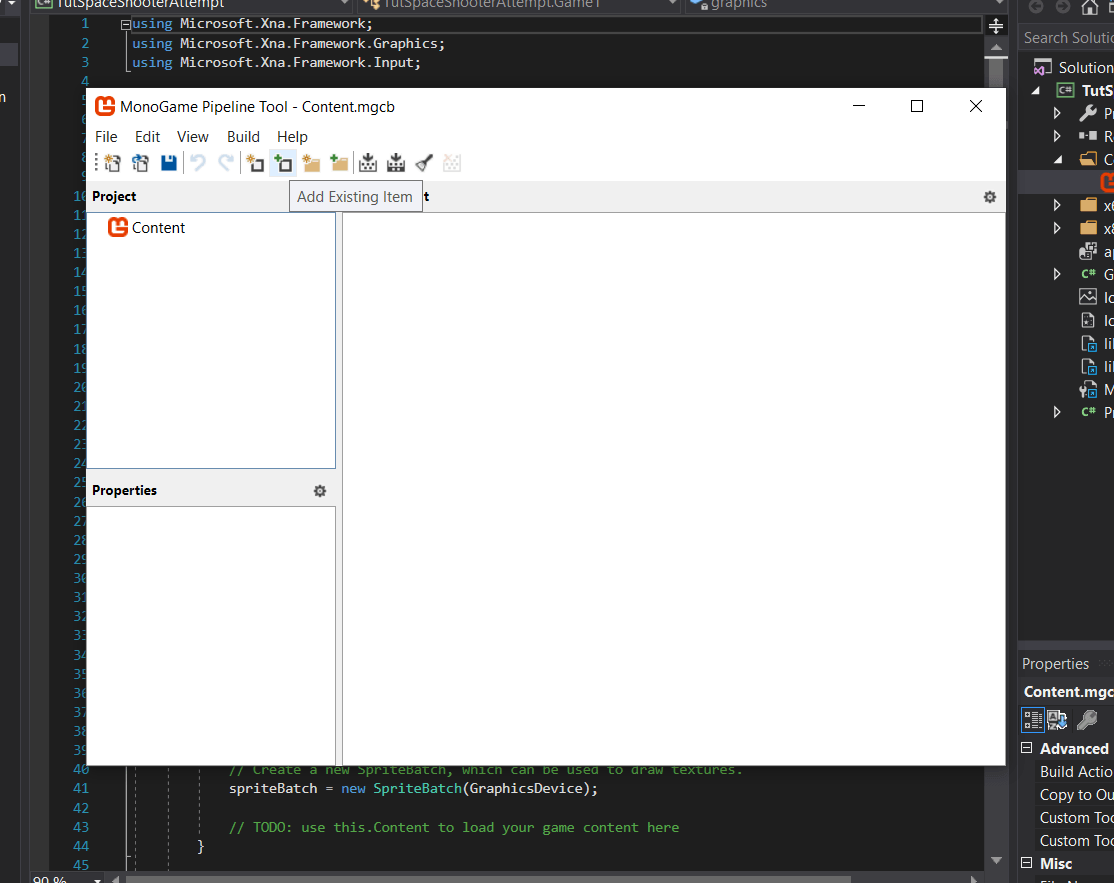
Once that’s all set, just click the OK button, and you should be good to go! We can now add the content to our game. The first thing we’ll need to do now, is double click the “Content.mgcb” file in the Solution Explorer pane. Now the MonoGame Pipeline Tool should open since we’ve set it as the default application to open .mgcb files.
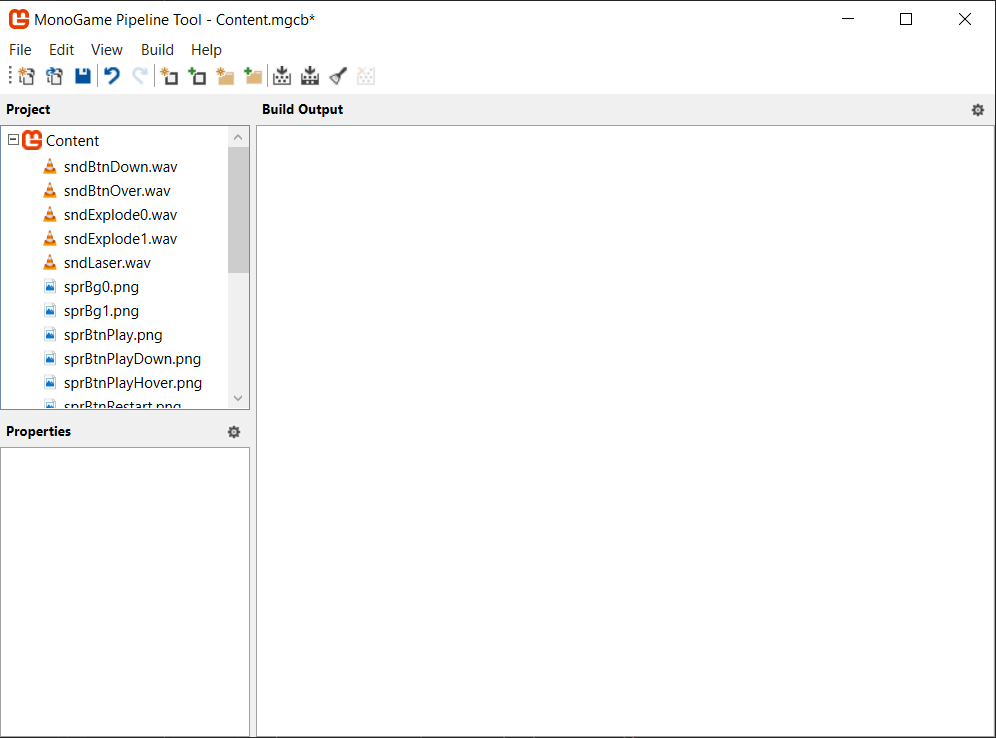
![]()
You should see something like the above window once the pipeline tool has opened.
Unfortunately, we won’t be able to just select our content, and drag and drop it in. So, we will have to click “Add Existing Item.” This button should be on the row of buttons at the top of the window:
An open dialog should now be displayed. The next step is to find the ZIP file you downloaded containing the content and extract it. Then, click on the newly extracted folder and select all the files like so:
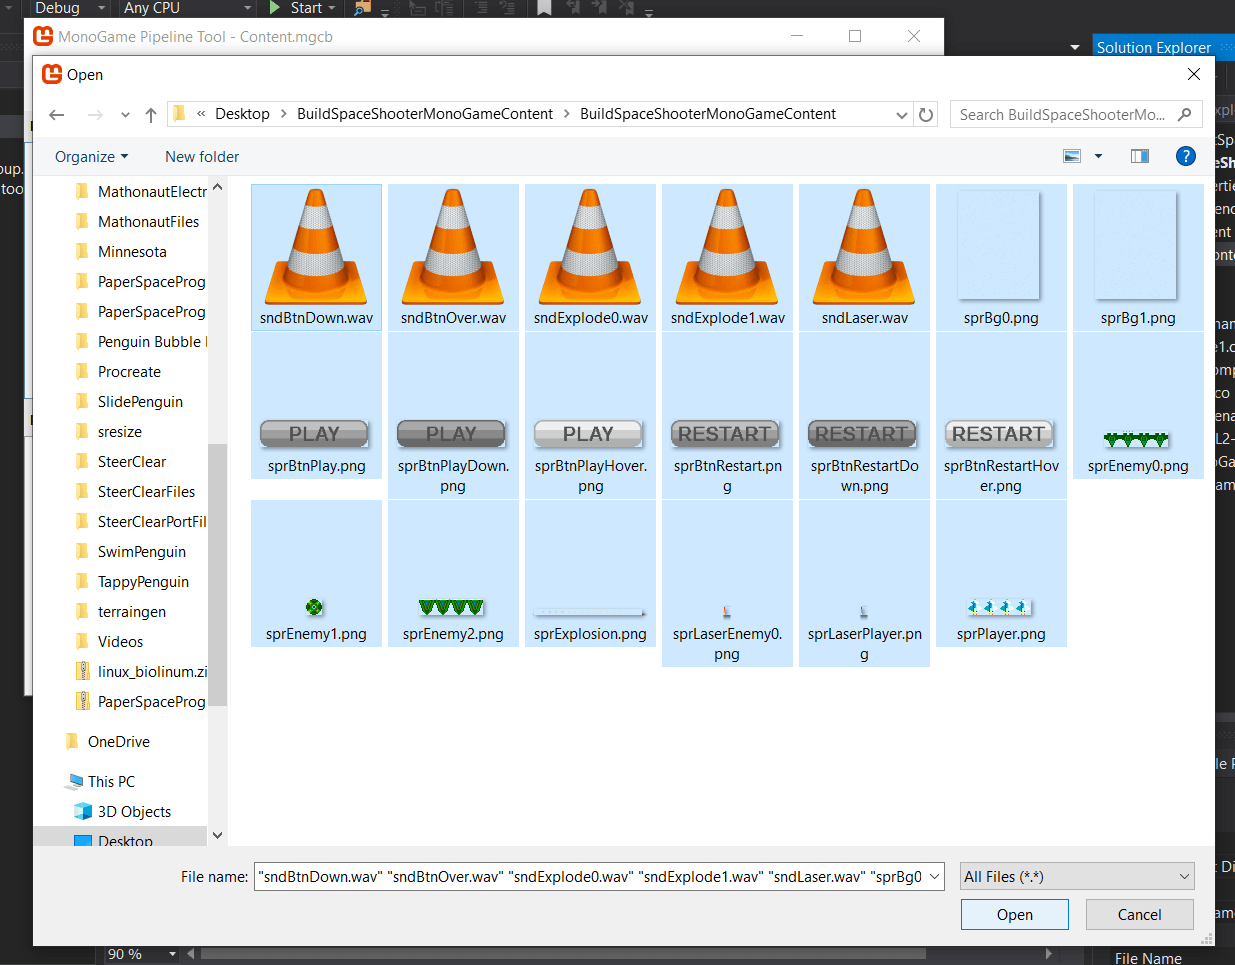
Once you’ve selected all of the content, click the Open button. If all goes right, you should now see another prompt on your screen asking you what you want to do:

Ensure the option, “Copy the file to the directory” is selected. I would also mark the checkbox labeled, “Use the same action for all the selected files.” After that, click Add and the content should then be added to our project’s pipeline!
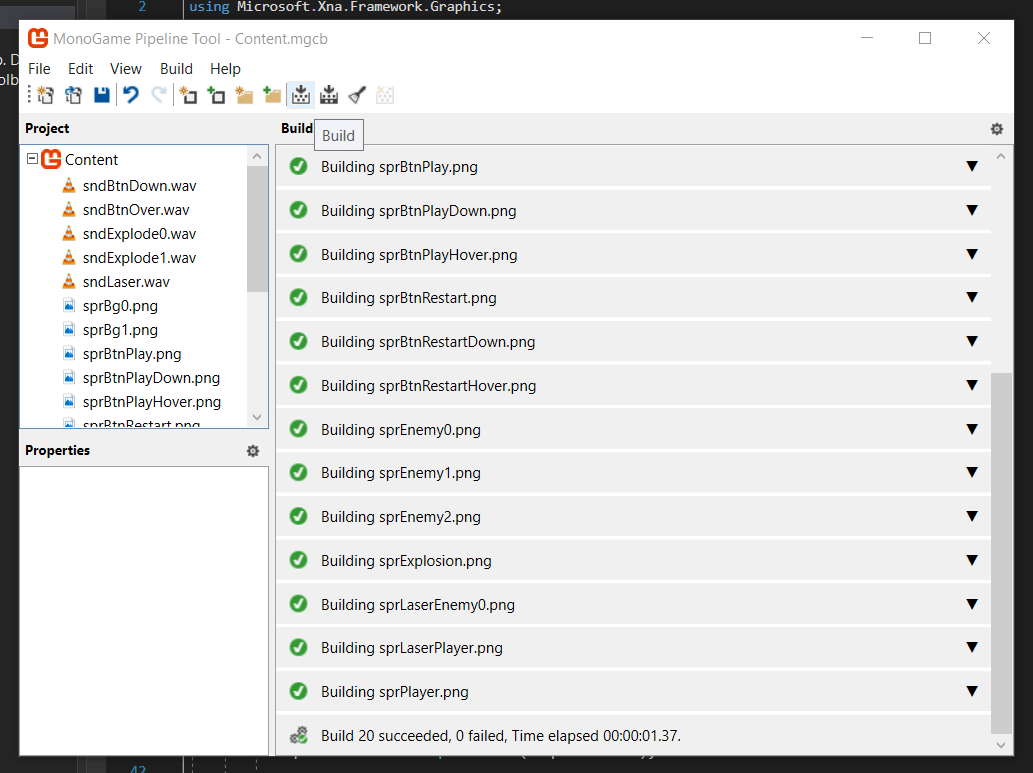
Of course, we still can’t use it in our game yet. Let’s click the Build button on the top of the pipeline tool and wait for our content to build.
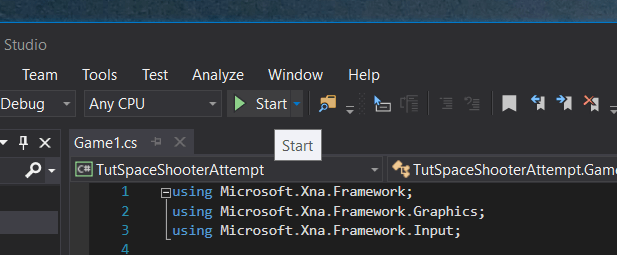
At this point, we can close the pipeline (for now). We will be coming back to it once we add text to our game. Let’s have a go at running the game and see what we get. At the top of Visual Studio, you should see the Start button.
If we click the button, our game will compile and we should see the following:
![]()
This looks pretty eventful, huh? We’ll spruce it up, but we have to get some of the more boring work out of the way first. This includes loading our content.
Let’s continue with part two!