MonoGame is the most powerful frameworks for creating cross-platform games. One of the great features about it, is that it’s open-source. If you ever need to adjust something within the framework itself, you can do it. The MonoGame community is a very active community with hobbyists and professionals alike. The purpose of this guide is to help you setup MonoGame if want to use Windows for game development.
Before installing MonoGame, we will need to install Visual Studio 2017. Currently (as of April 30, 2019), MonoGame only officially offers Visual Studio templates up to the 2017 version. You can download Visual Studio 2017 here. Once you’ve ran the installer and Visual Studio is installed, you’re ready for the next step!
Their website, www.monogame.net is extremely easy to use and navigate through. For our purposes, we can go to their downloads page, and click on the latest release. Once the installer has downloaded, execute the installer.
Stop once you see the following part of the installation:
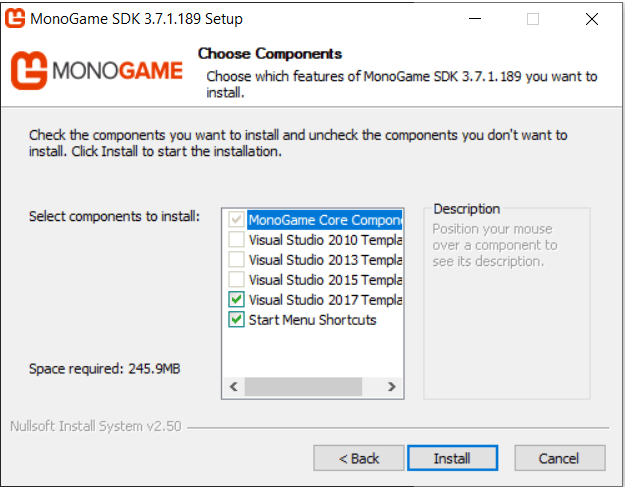
Make sure Visual Studio 2017 is selected, the click install. Once the setup is complete, you’re ready to start programming your first game with MonoGame!