In this tutorial we will be creating a simple, modern navigation bar. It’s nothing fancy, it just works, and it looks modern. I’m deriving the basis of this tutorial from my full screen landing page tutorial. It’s not required, but feel free to clone the repository for that tutorial and that can be the basis for our purposes here. It would be helpful to know HTML and CSS, but it’s not necessarily required, though highly recommended. If you wish to get up to speed with HTML and CSS, you can find my courses, HTML Beginner Blocks, and CSS Beginner Blocks in our shop.
If you did not clone the repository I mentioned above, you can follow the steps below to get started:
Create a folder for your project. Inside that folder, create another folder named css. In your project directory, add a new file and name it index.html. Finally, in the css folder, create a new file called styles.css.
We will start by editing the index.html file. Open that file with any old text editor or code editor. Anything will work, so don’t be afraid to use Notepad or Text Edit if you have to.
Inside the index.html file, add the following to define our HTML file:
<!DOCTYPE html>
<html>
    <head>
        <meta charset="utf-8">
        <meta lang="en-us">
        <title>Simple Nav Bar</title>

        <link rel="stylesheet" type="text/css" href="css/styles.css">
    </head>

    <body>

    </body>
</html>
Inside the body element, let’s the code for our navigation bar:
<header class="site-header">
<nav class="nav-main" role="navigation">
<ul class="navbar">
<li><a href="#">Home</a></li>
<li><a href="#">Products</a></li>
<li><a href="#">Services</a></li>
<li><a href="#">About</a></li>
<li><a href="#">Contact</a></li>
</ul>
</nav>
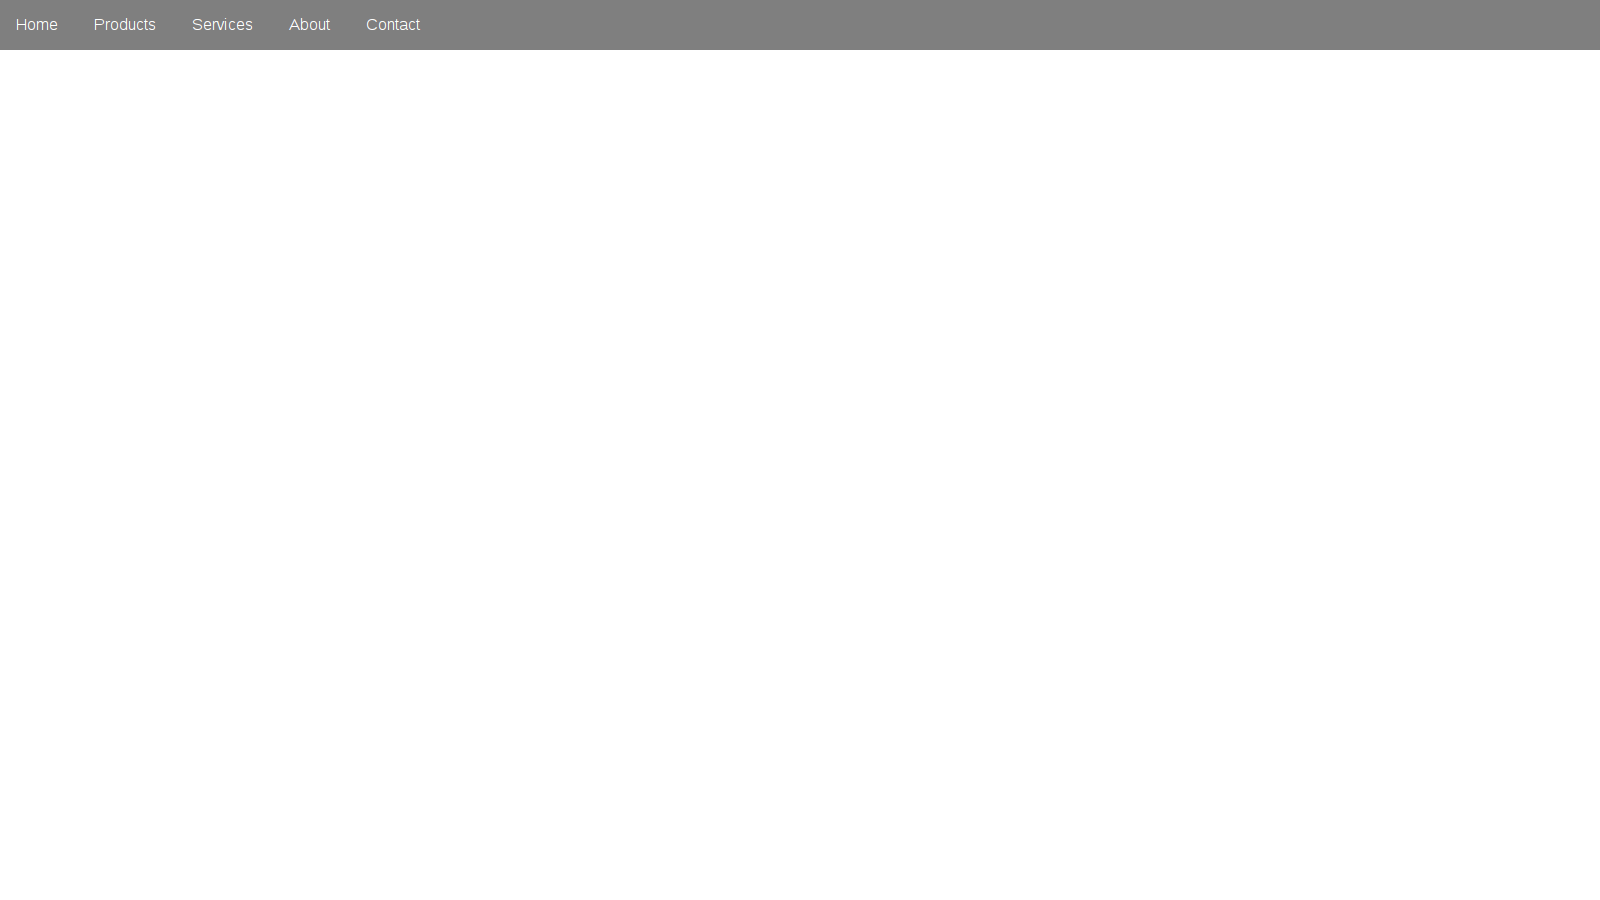
</header>If we open index.html in our browser, we should now see:

Now in our styles.css file, let’s add the style rule to help make our HTML document appear somewhat more consistent across browsers:
html, body {
  margin: 0;
  padding: 0;
}
Next, let’s add a style rule for our main element:
.nav-main {
  position: absolute;
  display: inline-block;
  background: rgba(0, 0, 0, 0.5);
  width: 100%;
  z-index: 10;
}
The first two properties, position, and display, will allow the navigation bar to overlay any background wrapper. This isn’t really required, if you don’t want to make your navigation bar semi-transparent. We’re using the shorthand property for specifying a background, which is background. You can specify a background image, a background color, etc. via this shorthand property. We also want the background color of the navigation bar to span the width of the screen. Finally, we set the z-index (which pretty much means depth), to a higher number like 10. Higher numbers allow the element to be displayed above others with a lower z-index.
Next, let’s add a style rule for the class navbar, which is a (unordered list) element. Essentially, we don’t want the unordered list to have a bullet point and extra padding, since we’re displaying them inline. Add the following code to add this rule:
.navbar {
    list-style-type: none;
    margin: 0;
    padding: 0;
}
We will want the list items () elements of the unordered list to be displayed inline. Let’s add some more code:
.navbar li {
    display: inline;
}
Finally, we can style the links ( elements) themselves, which are within the list items:
.navbar a {
    color: white;
    display: inline-block;
    padding: 16px;
    font-family: 'Lato', sans-serif;
    text-decoration: none;
}
If you have a full screen landing page, you should see something like:

Otherwise, if you followed along from scratch, you should see something like:
If you see a similar result, fantastic! However, if it didn’t quite turn out right, please don’t hesitate to email me at [email protected] or tweet me at @jaredyork_.
If you found my tutorial valuable, and would like to receive updates on my future tutorials and courses we write, please fill out the form.
You can also find the full source code for this tutorial on GitHub.