In the last part of this course, “Build a Space Shooter with Phaser 3”, we have added the bulk of our code for our space shooter. We have covered adding enemies, player lasers, enemy lasers, frustum culling, and collisions in the last part. There are a few things we will finish up in this part to conclude this course. We will be adding a scrolling background, filling in the main menu, and create the game over screen.
We will start by adding the scrolling background. The scrolling background will have multiple, scrolling at different speeds. First, let’s go to our Entities.js file. At bottom of the file, we can add a new class, ScrollingBackground. It does not need to extend anything.
class ScrollingBackground {
  constructor(scene, key, velocityY) {

  }
}
Our constructor will be taking in the scene we instantiate a scrolling background, and the image key of our star background. We will first set the scene of the instance to our parameter we’ve taken in. We will also store our keys into an instance of a scrolling background.
this.scene = scene;
this.key = key;
this.velocityY = velocityY;
We will be implementing a function called createLayers. Before we do however, we need to create a group inside our constructor.
this.layers = this.scene.add.group();Inside our new createLayers function, let’s add the following code to create sprites out of the image key we’re given.
for (var i = 0; i < 2; i++) {
      // creating two backgrounds will allow a continuous scroll
      var layer = this.scene.add.sprite(0, 0, this.key);
      layer.y = (layer.displayHeight * i);
      var flipX = Phaser.Math.Between(0, 10) >= 5 ? -1 : 1;
      var flipY = Phaser.Math.Between(0, 10) >= 5 ? -1 : 1;
      layer.setScale(flipX * 2, flipY * 2);
      layer.setDepth(-5 - (i - 1));
      this.scene.physics.world.enableBody(layer, 0);
      layer.body.velocity.y = this.velocityY;

      this.layers.add(layer);
    }
The above code iterates through each key we take in. For each key, we create two sprites with the key at each iteration of the first for loop. We then add the sprite to our layers group. We then apply a downwards velocity in which each layer is slower the farther back they are based on the value of i.
We can then call createLayers at the bottom of our constructor.
this.createLayers();Now we can head over to SceneMain.js and initialize the scrolling background. Insert the following code before we instantiate the player and add it after we define this.sfx.
this.backgrounds = [];
for (var i = 0; i < 5; i++) { // create five scrolling backgrounds
  var bg = new ScrollingBackground(this, "sprBg0", i * 10);
  this.backgrounds.push(bg);
}
Try running the game, you should see a the stars behind the player. All four backgrounds should be drawn now. We can now head back to Entities.js and add an update function with the following code inside:
if (this.layers.getChildren()[0].y > 0) {
      for (var i = 0; i < this.layers.getChildren().length; i++) {
        var layer = this.layers.getChildren()[i];
        layer.y = (-layer.displayHeight) + (layer.displayHeight * i);
      }
    }
The above code allows the background layers to wrap back around to the bottom. If we didn’t have this code, the backgrounds will just move off-screen and there will remain the black background. We can go back to SceneMain.js and call the update function of our scrolling background instance. In the update function of SceneMain, add the following code:
for (var i = 0; i < this.backgrounds.length; i++) {
      this.backgrounds[i].update();
    }
That concludes adding our background to the game! If we run the game we should see multiple background layers scrolling down at different speeds.
We can finish up by adding our main menu and game over screen.
Navigate to SceneMainMenu and remove the line that starts SceneMain. Before we continue however, we should a sound effect object for SceneMainMenu. Add the following to the very top of the create function:
this.sfx = {
  btnOver: this.sound.add("sndBtnOver"),
  btnDown: this.sound.add("sndBtnDown")
};
We can then add the play button to the create function by adding a sprite.
this.btnPlay = this.add.sprite(
  this.game.config.width * 0.5,
  this.game.config.height * 0.5,
  "sprBtnPlay"
);
In order to start SceneMain, we will need to first set our sprite as interactive. Add the following directly below where we defined this.btnPlay:
this.btnPlay.setInteractive();Since we set our sprite as being interactive, we can now add pointer events such as over, out, down, and up. We can execute code when each of these events are triggered by the mouse or tap. The first event we will add is the pointerover event. We will be changing the texture of the button to our sprBtnPlayHover.png image when the pointer moves over the button. Add the following after we set our button as interactive:
this.btnPlay.on("pointerover", function() {
  this.btnPlay.setTexture("sprBtnPlayHover"); // set the button texture to sprBtnPlayHover
  this.sfx.btnOver.play(); // play the button over sound
}, this);
If we run the game and move the mouse over the button we should see:
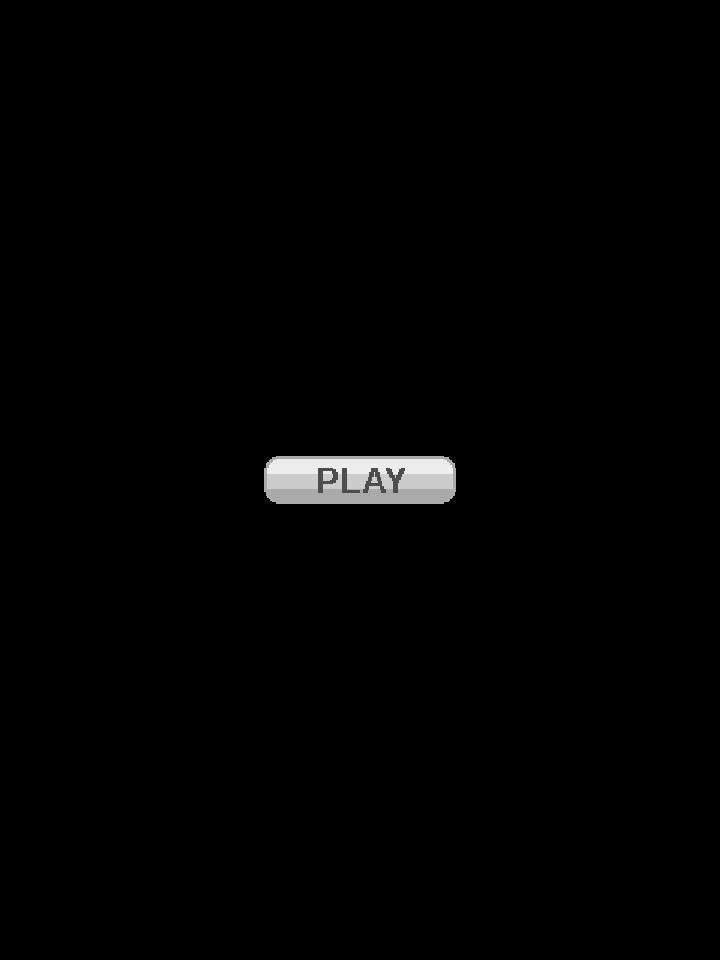
Now we can add the pointerout event. In this event we will reset the texture back to the normal play button image. Add the following under where we define the pointerover event:
this.btnPlay.on("pointerout", function() {
  this.setTexture("sprBtnPlay");
});
If we run the game again and move the mouse over the button, then off, we should see the button texture reset to the default image.
Next, we can add the pointerdown event. This is where we will change the texture of the play button to sprBtnPlayDown.png.
this.btnPlay.on("pointerdown", function() {
  this.btnPlay.setTexture("sprBtnPlayDown");
  this.sfx.btnDown.play();
}, this);
If we run the game, we should see the button texture change to sprBtnPlayDown.png when we move the mouse over the button and click. We can then add the pointerup event to reset the button texture after we click.
this.btnPlay.on("pointerup", function() {
  this.setTexture("sprBtnPlay");
}, this);
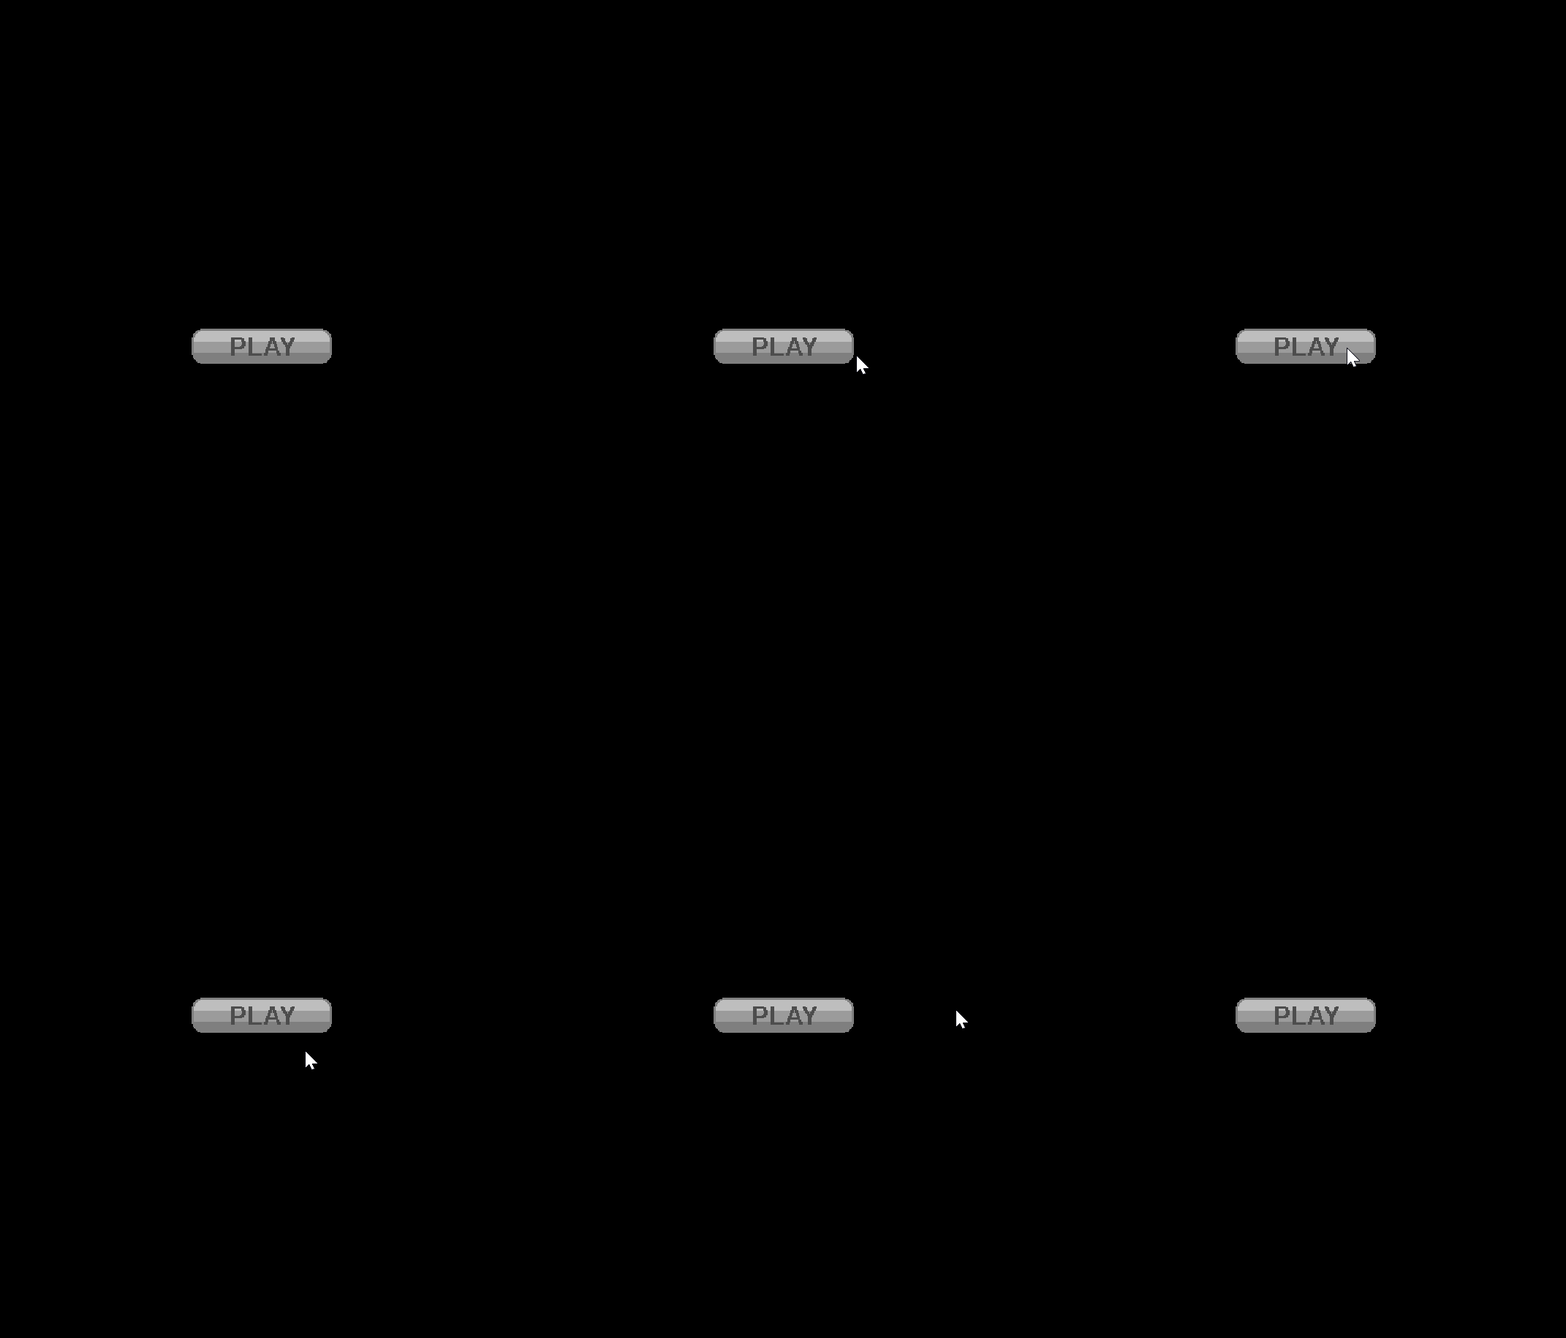
We can a line one more line inside our pointerup event to start SceneMain. The final pointerup event should look like:
this.btnPlay.on("pointerup", function() {
  this.btnPlay.setTexture("sprBtnPlay");
  this.scene.start("SceneMain");
}, this);
When we run the game and click the play button, it should now start SceneMain!
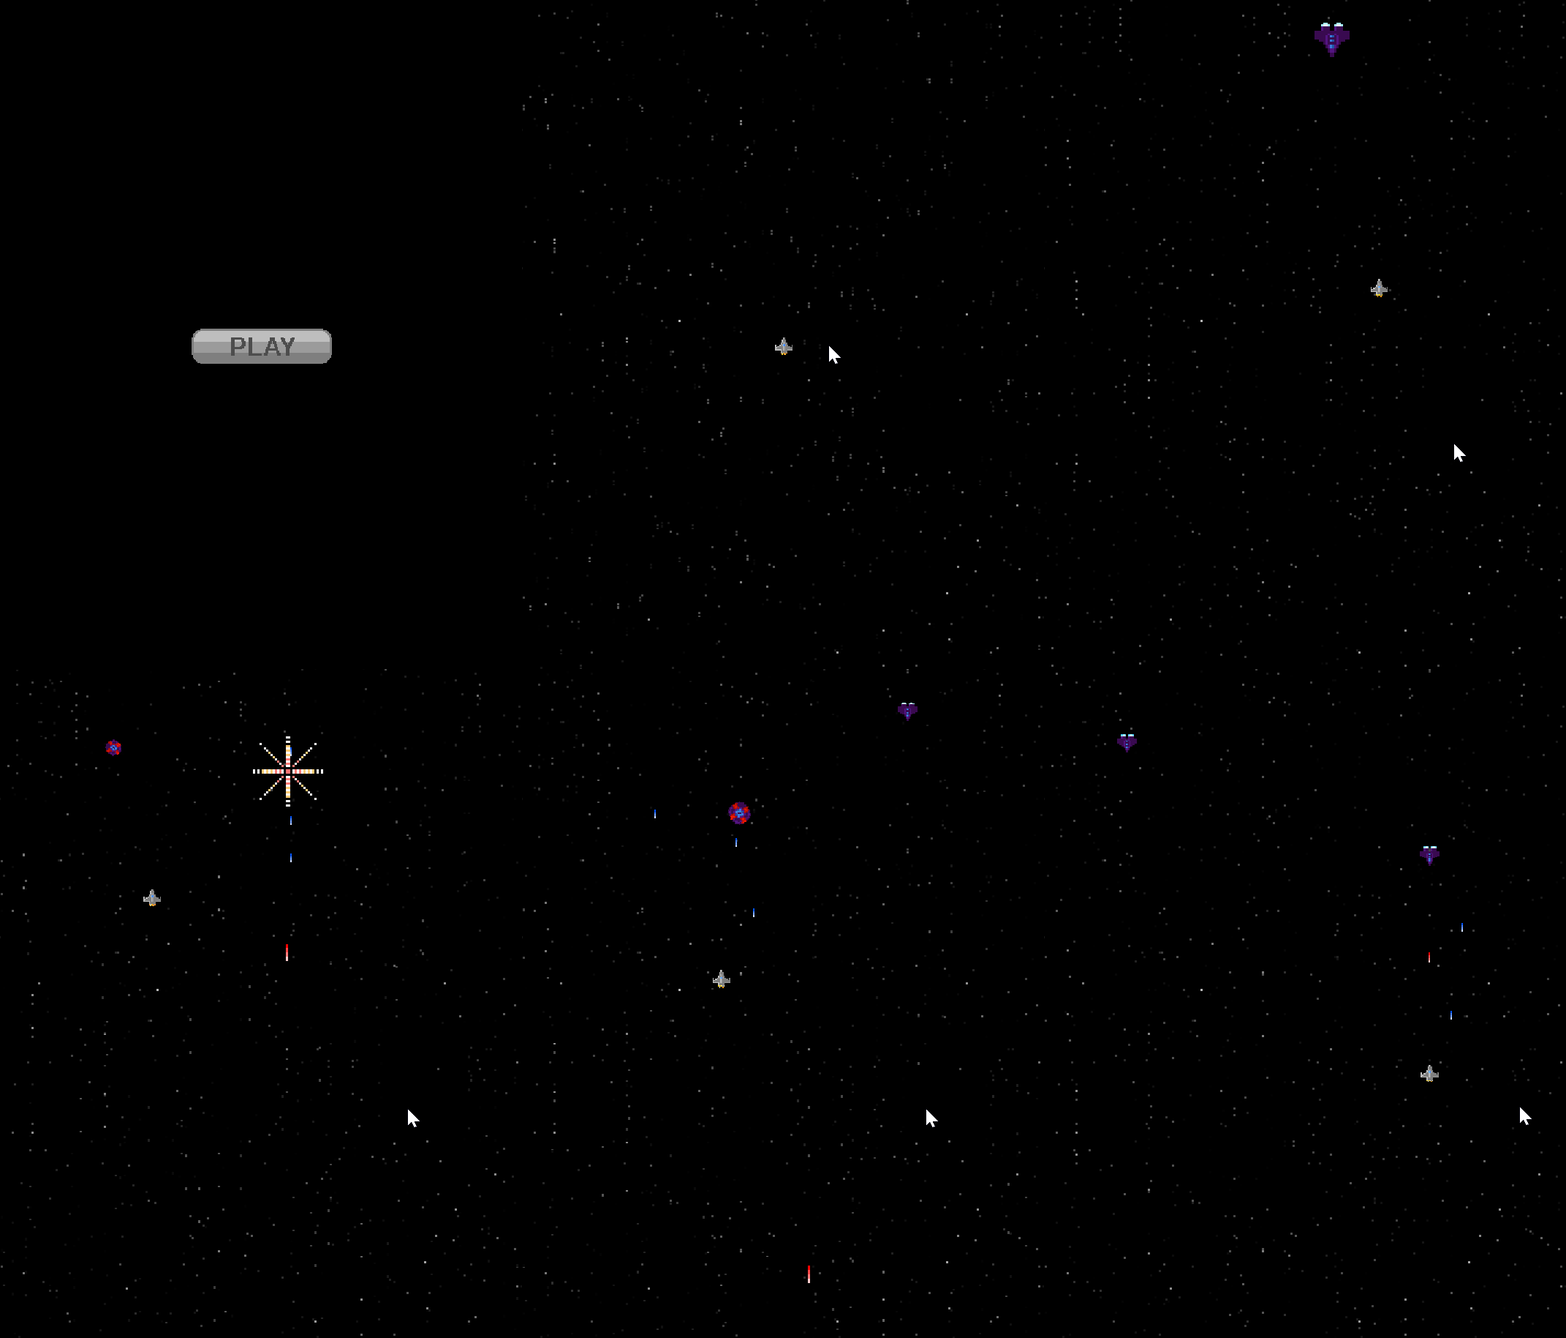
There are now just a couple things we can do to finish up our main menu. The first is adding a title. To add our title, we can create text. Add the following under the pointerup event
this.title = this.add.text(this.game.config.width * 0.5, 128, "SPACE SHOOTER", {
  fontFamily: 'monospace',
  fontSize: 48,
  fontStyle: 'bold',
  color: '#ffffff',
  align: 'center'
});
To center the title, we can set the origin of the text to half the width, and half the height. We can do this by writing the following under our title definition:
this.title.setOrigin(0.5);The last thing we will do for our main menu is add our scrolling background in. We can copy the code from the create function of SceneMain to SceneMainMenu, but the code is available below as well.
this.backgrounds = [];
for (var i = 0; i < 5; i++) {
  var keys = ["sprBg0", "sprBg1"];
  var key = keys[Phaser.Math.Between(0, keys.length - 1)];
  var bg = new ScrollingBackground(this, key, i * 10);
  this.backgrounds.push(bg);
}
We can also create the update function as well. In the update function we will update our background layers. Add the following to the update function to update our scrolling backgrounds.
for (var i = 0; i < this.backgrounds.length; i++) {
  this.backgrounds[i].update();
}
Try running the game now. You may notice some green squares in the top-left corner of the screen.
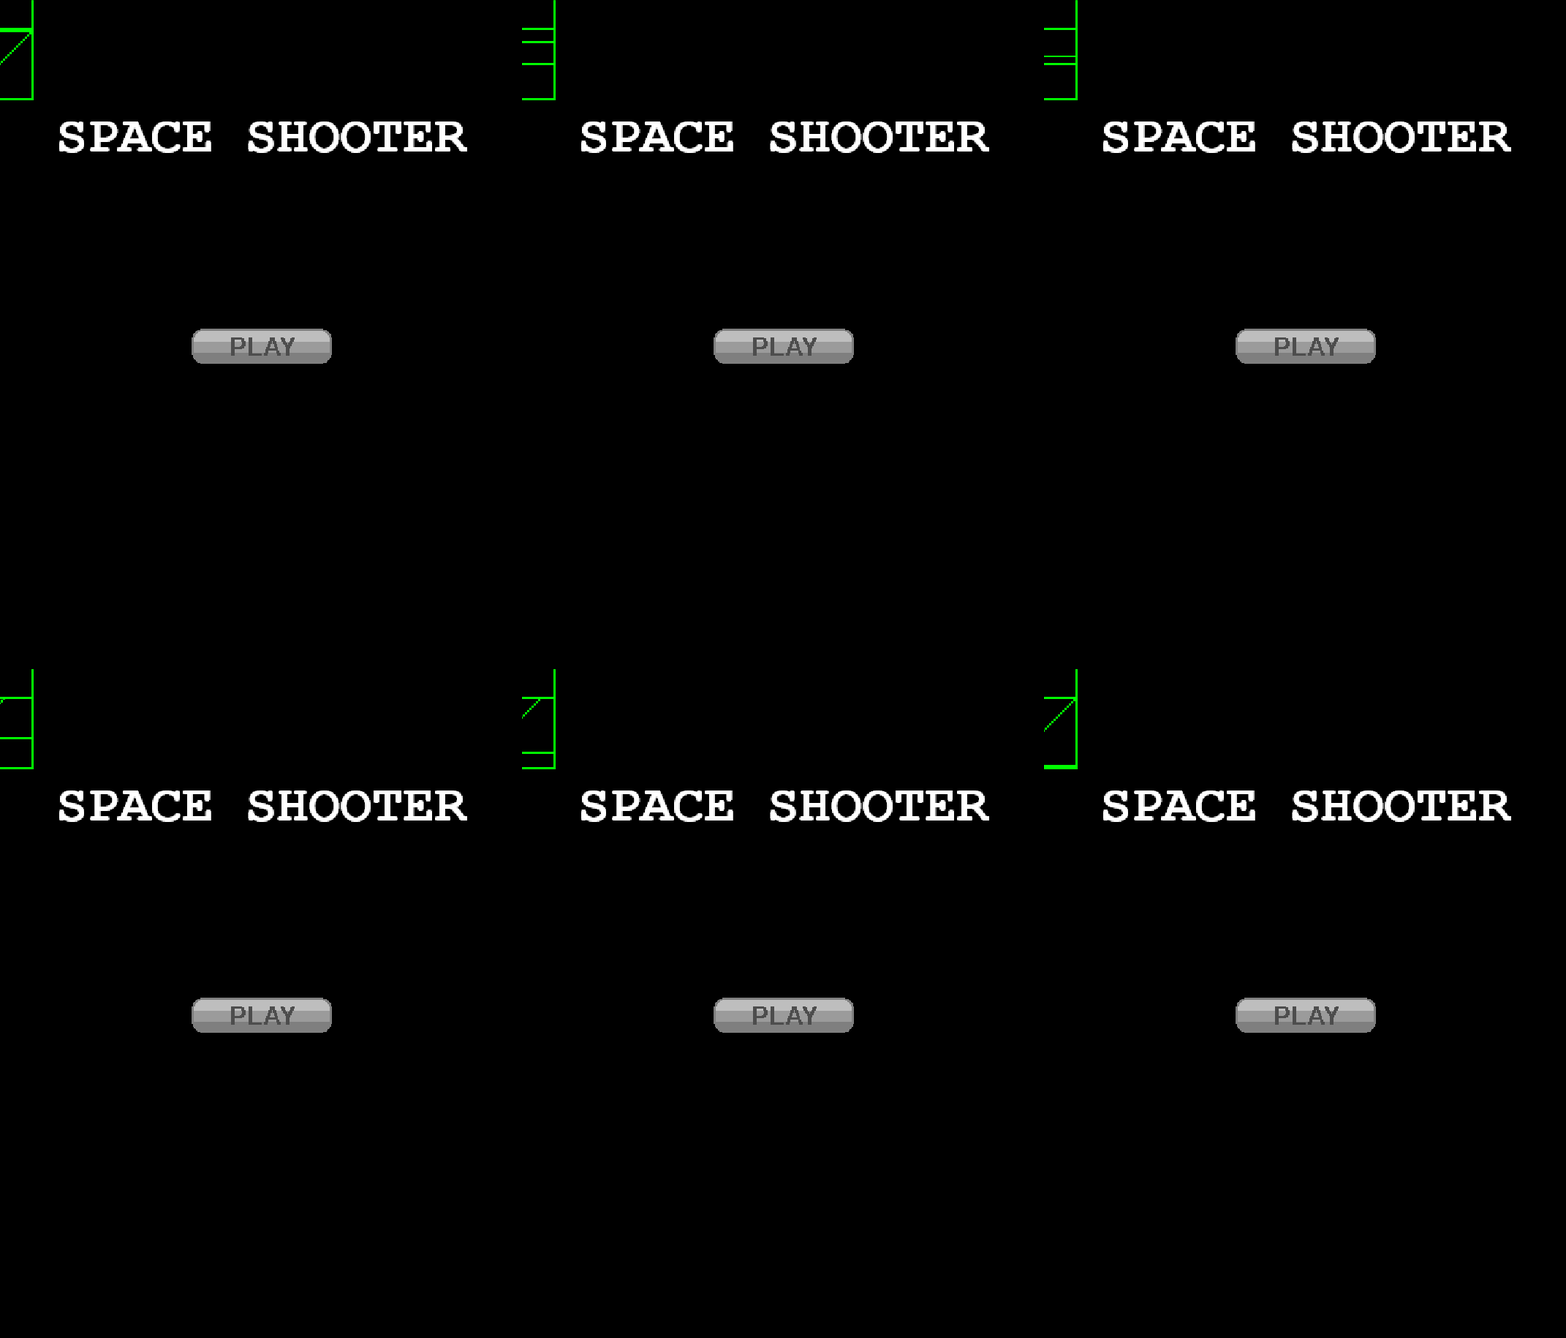
The reason why we are not seeing our backgrounds, is because they haven’t been loaded yet. They have been loaded in SceneMain, but if we look at our scene array in game.js, SceneMain is after SceneMainMenu so we are not able to access loaded content from SceneMain. To fix this, we will have to move the lines loading sprBg0.png and sprBg1.png to the preload function of SceneMainMenu. The preload function of SceneMainMenu should look similar to:
this.load.image("sprBg0", "content/sprBg0.png");
this.load.image("sprBg1", "content/sprBg1.png");
this.load.image("sprBtnPlay", "content/sprBtnPlay.png");
this.load.image("sprBtnPlayHover", "content/sprBtnPlayHover.png");
this.load.image("sprBtnPlayDown", "content/sprBtnPlayDown.png");
this.load.image("sprBtnRestart", "content/sprBtnRestart.png");
this.load.image("sprBtnRestartHover", "content/sprBtnRestartHover.png");
this.load.image("sprBtnRestartDown", "content/sprBtnRestartDown.png");

this.load.audio("sndBtnOver", "content/sndBtnOver.wav");
this.load.audio("sndBtnDown", "content/sndBtnDown.wav");
When we now run the game, we should see background looking how it should.
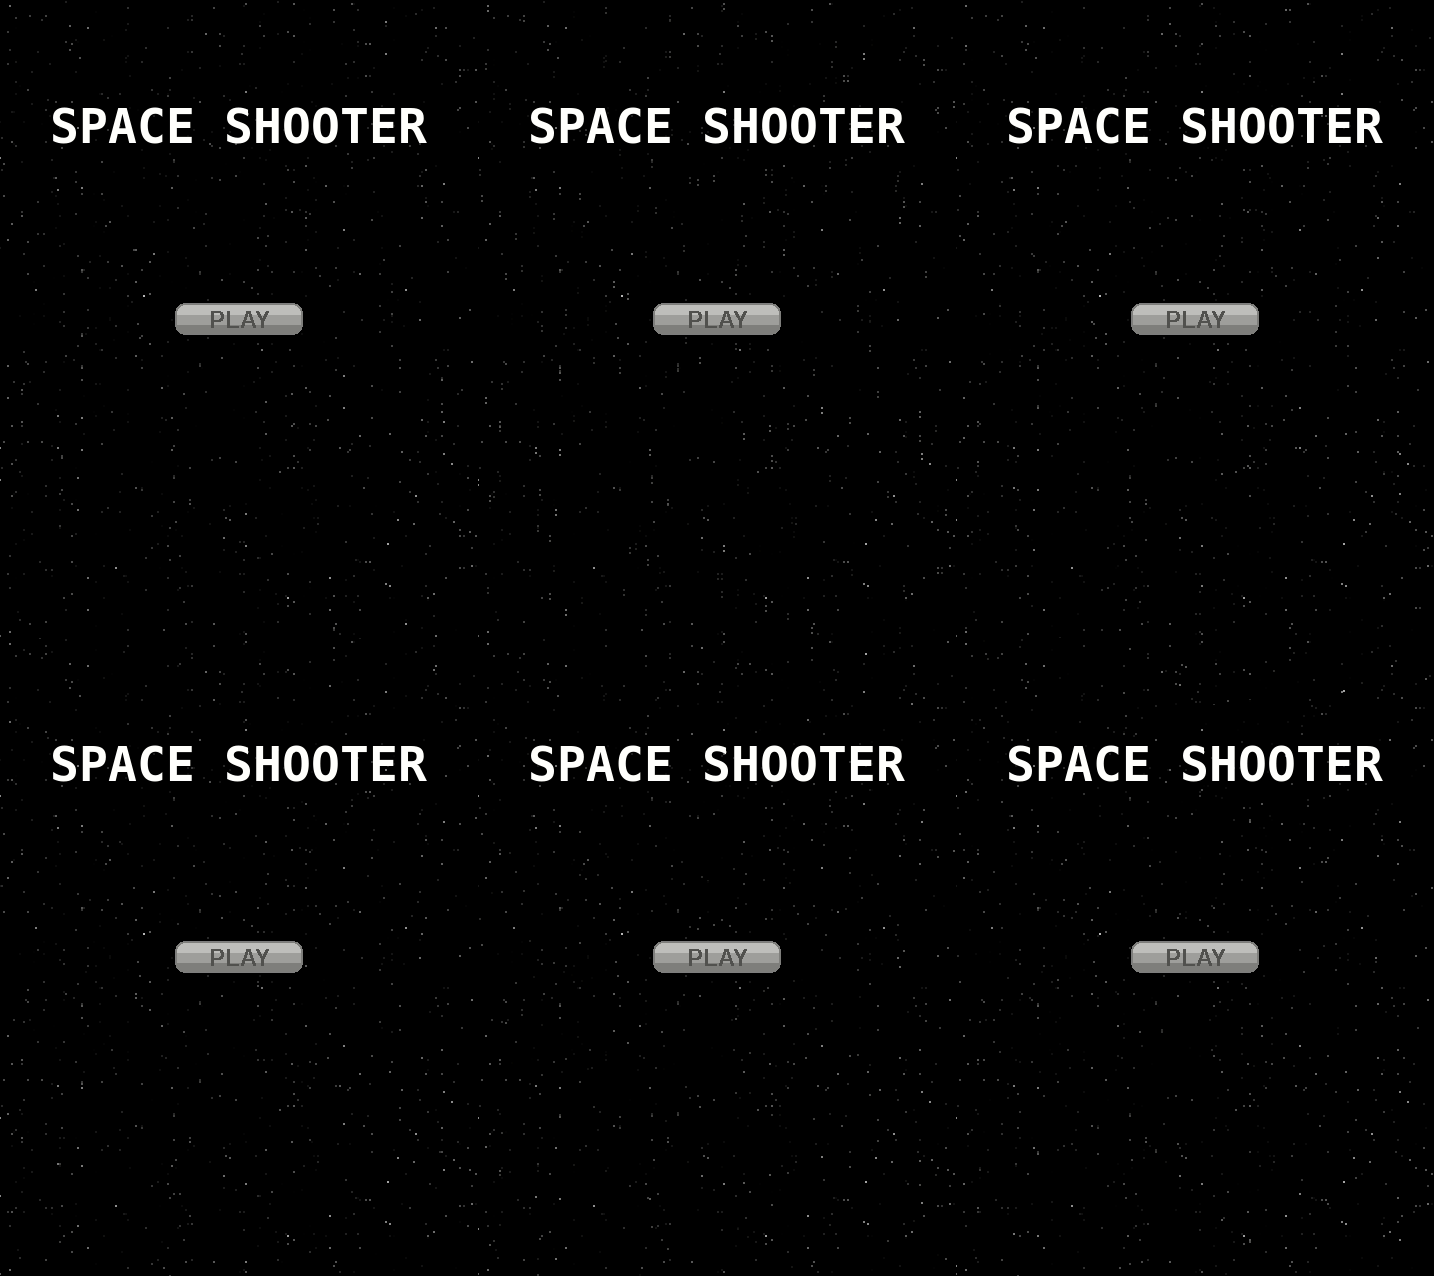
The final part of this course will be fleshing out SceneGameOver and adding the scene start code in the appropriate colliders.
We can copy over the title code from SceneMainMenu to SceneGameOver. In the create function of SceneGameOver, we can add the following code to create our title. This title code is essentially identical to the code we used previously. The only change we make is changing the string to draw from "SPACE SHOOTER" to "GAME OVER".
this.title = this.add.text(this.game.config.width * 0.5, 128, "GAME OVER", {
  fontFamily: 'monospace',
  fontSize: 48,
  fontStyle: 'bold',
  color: '#ffffff',
  align: 'center'
});
this.title.setOrigin(0.5);
Next we can add our sound effect object, as we did with both SceneMainMenu and SceneMain.
this.sfx = {
  btnOver: this.sound.add("sndBtnOver"),
  btnDown: this.sound.add("sndBtnDown")
};
Once we have added the game over title and sound effect object, we can add in the restart button. The code is pretty much identical to that which we used with the play button. Add the following to the create function of SceneGameOver:
this.btnRestart = this.add.sprite(
      this.game.config.width * 0.5,
      this.game.config.height * 0.5,
      "sprBtnRestart"
    );

    this.btnRestart.setInteractive();

    this.btnRestart.on("pointerover", function() {
      this.btnRestart.setTexture("sprBtnRestartHover"); // set the button texture to sprBtnPlayHover
      this.sfx.btnOver.play(); // play the button over sound
    }, this);

    this.btnRestart.on("pointerout", function() {
      this.setTexture("sprBtnRestart");
    });

    this.btnRestart.on("pointerdown", function() {
      this.btnRestart.setTexture("sprBtnRestartDown");
      this.sfx.btnDown.play();
    }, this);

    this.btnRestart.on("pointerup", function() {
      this.btnRestart.setTexture("sprBtnRestart");
      this.scene.start("SceneMain");
    }, this);
After our button code, we can create our background layers. As we have before, we can add the following code to the create function:
this.backgrounds = [];
for (var i = 0; i < 5; i++) {
  var keys = ["sprBg0", "sprBg1"];
  var key = keys[Phaser.Math.Between(0, keys.length - 1)];
  var bg = new ScrollingBackground(this, key, i * 10);
  this.backgrounds.push(bg);
}
Then add our update code to update the backgrounds in the update function:
for (var i = 0; i < this.backgrounds.length; i++) {
  this.backgrounds[i].update();
}
We finished adding the game over title, restart button, and scrolling background layers. That’s great, except we can’t see our changes yet because we haven’t started SceneGameOver anywhere yet. To change this, we can go to our Entities.js file and create an onDestroy function for our player. The plan is, we will want to create an event that will start SceneGameOver after a slight delay. Inside our new onDestroy function, we can add the following code:
this.scene.time.addEvent({ // go to game over scene
  delay: 1000,
  callback: function() {
    this.scene.scene.start("SceneGameOver");
  },
  callbackScope: this,
  loop: false
});
In order to finish with our onDestroy function, we will need to go back to SceneMain.js and look in the create function. Specifically we will have to call the player’s onDestroy function in every collider that involves the player. Just after we call player.explode(false);, we can insert: player.onDestroy();
There we have it! This concludes the end of our five part course, “Build a Space Shooter with Phaser 3”!
There are quite a features you could add to this project as well. A few I can think of are:
- add lives
- add a score
- add increasing difficulty
- add upgrade
- add bosses
If you decide to expand this project, I would really love to hear about it! You can email me at [email protected]. 🙂
We covered the majority of the components you need to make your own games with Phaser 3. I would also like to thank the Phaser 3 team for making such an awesome HTML5 game framework and for all the work they have done. You can learn more about Phaser at their official website, here. As always, please feel free to ask me questions, and I will be more than glad to help. I’m thinking about creating more free and paid courses in the future. Let me know what you would like a course about and I may consider it. 🙂
The final code for this course is available on GitHub.
If you would like to receive updates on future courses I release, please feel free to fill out the form.