Hello! This guide is meant to be a tiny introduction to the markup language, HTML. HTML stands for Hypertext Markup Language. This is the language the defines the structure of the websites you visit.
Before we begin writing our own HTML page, create a folder wherever you wish to store the web page. Feel free to name it anything you like. Next, create a file inside that folder and name it index.html. This will serve as the main file for our site. This page we’re making won’t be accessible via the internet, but you can access it from your computer for the purposes of getting your hands dirty.
Take a second and open our index.html file with a text/code editor of your choice. Anything will work, even a program such as Notepad or Text Edit. Inside our index.html file, we need a way to tell the browser that this is supposed to be interpreted as an HTML document. Easy enough! We just have to add the following:
<!DOCTYPE html>
<html>

</html>
If we take a look at our index.html file in the browser, we will see a blank screen.
Before we continue, it’s important to point out that HTML is primarily comprised of what’s known as tags. A tag is simply a way that we can reference an HTML element. Elements define an object on our page. Some examples of elements include headings, paragraphs, images, headers, footers, etc. In the code above, we have added an opening tag and a closing tag. We can add tags in between to define children of our element. This works for all other tags as well.
Next, we need a way to specify some metadata for our web page. This is pretty trivial as well, just add a set of tags between the tags. It’s good practice to indent child elements. This makes our markup easier to read. Our document should now look like the following:
<!DOCTYPE html>
<html>
    <head>

    </head>
</html>
You may notice when you look at the tabs in your browser, you see the titles for various websites that are in the tabs.

We can define a title for our page via the element. We can add this between the tags:
<title>My Website</title>
In order to add content to be displayed on our web page, we will need to add a pair of tags. Add an opening and closing tag after the closing tag of the element. We should now have the following:
<!DOCTYPE html>
<html>
<head>
<title>My Website</title>
</head>
<body>
</body>
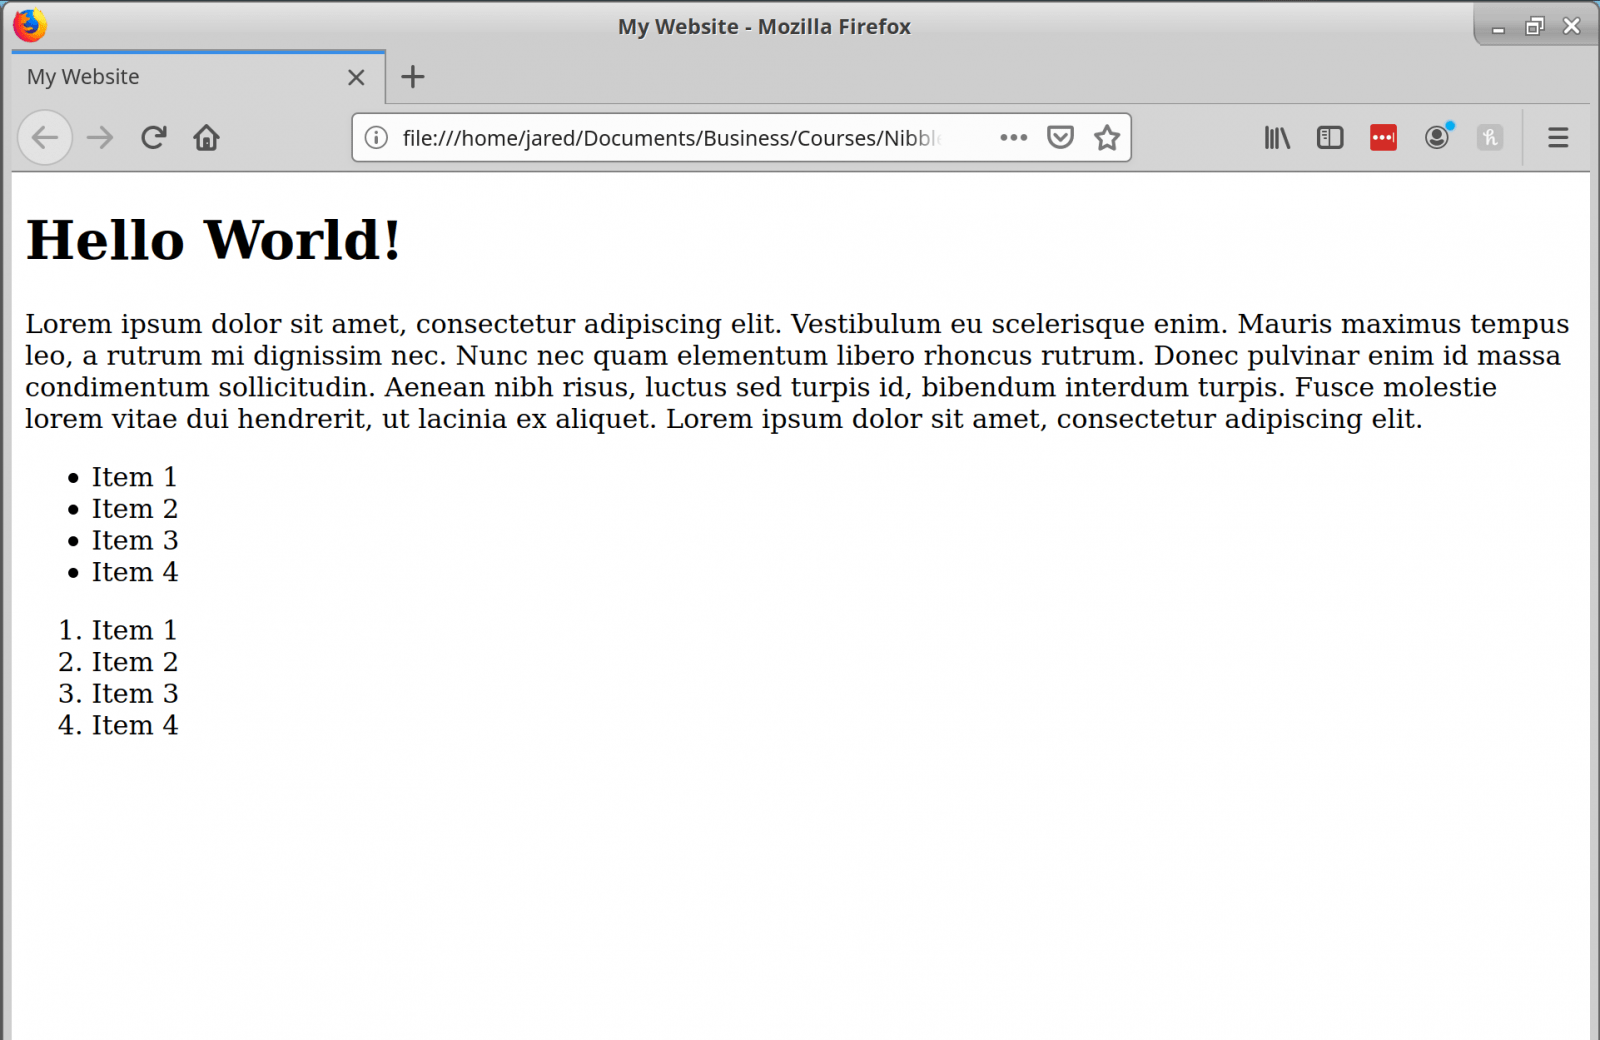
</html>Let’s try adding a heading to our page! Between the tags, add the following line:
<h1>Hello World!</h1>
The tag is the largest sized heading as specified in the specification. There are also smaller tags such as , , … all the way up to . Generally it’s good practice to only have one heading per page. Under the line above, we can add some text. Please feel free to type anything you like. I’m just going to add some lorem ipsum filler text, which you can use for your own projects and can find here. We can add this text via the paragraph element.
<p>
Lorem ipsum dolor sit amet, consectetur adipiscing elit. Vestibulum eu scelerisque enim. Mauris maximus tempus leo, a rutrum mi dignissim nec. Nunc nec quam elementum libero rhoncus rutrum. Donec pulvinar enim id massa condimentum sollicitudin. Aenean nibh risus, luctus sed turpis id, bibendum interdum turpis. Fusce molestie lorem vitae dui hendrerit, ut lacinia ex aliquet. Lorem ipsum dolor sit amet, consectetur adipiscing elit.
</p>
You will also find it useful to add lists to your pages at some point. There are two tags that allow us to add lists: and . The elements represents an unordered list. Pretty much, this means that by default, the list will have a bullet point next to each item. Let’s try adding one:
<ul>
    <li>Item 1</li>
    <li>Item 2</li>
    <li>Item 3</li>
    <li>Item 4</li>
</ul>

The other type of list is the ordered list, defined by the tag. By default, these types of lists will add a number next to each item in sequence. Let’s try making one!
<ol>
    <li>Item 1</li>
    <li>Item 2</li>
    <li>Item 3</li>
    <li>Item 4</li>
</ol>
The way each item is labeled in both lists can be changed via CSS.
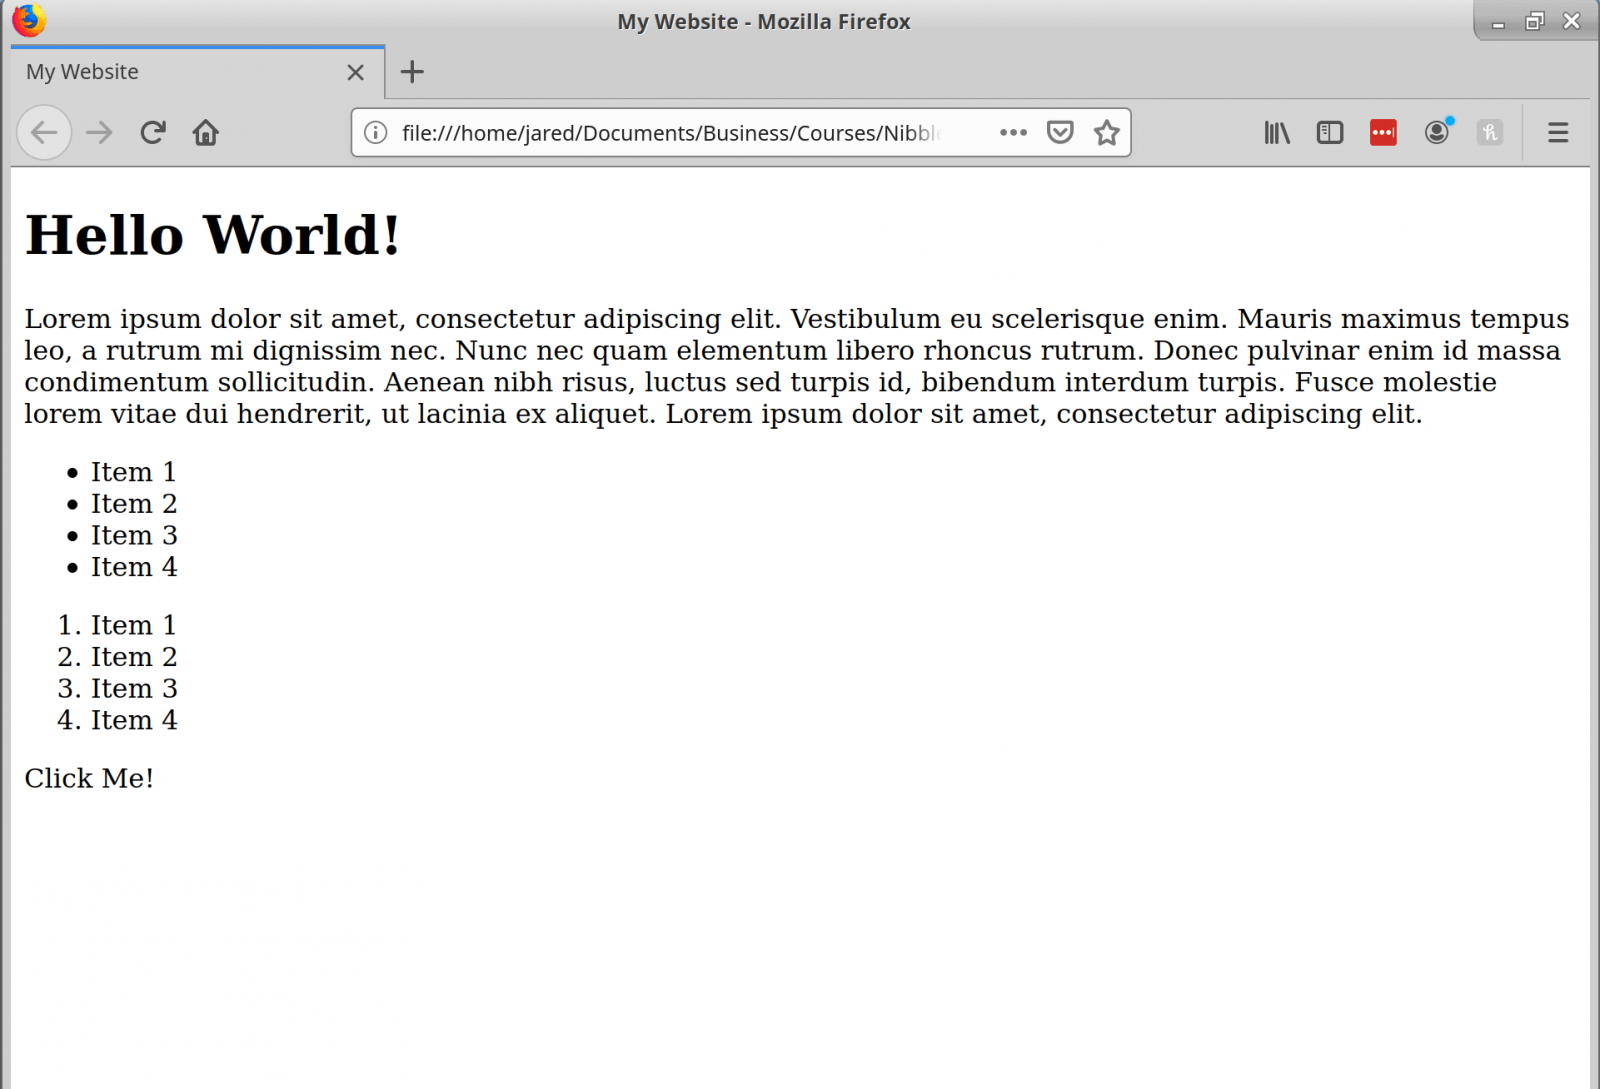
The last element I’ll cover in this bite-sized guide is the anchor tag. The anchor tag allows you to add links to your page. Anchor tags can be specified via the tag. Let’s try adding one. After our ordered list, add the following line:
<a>Click Me!</a>
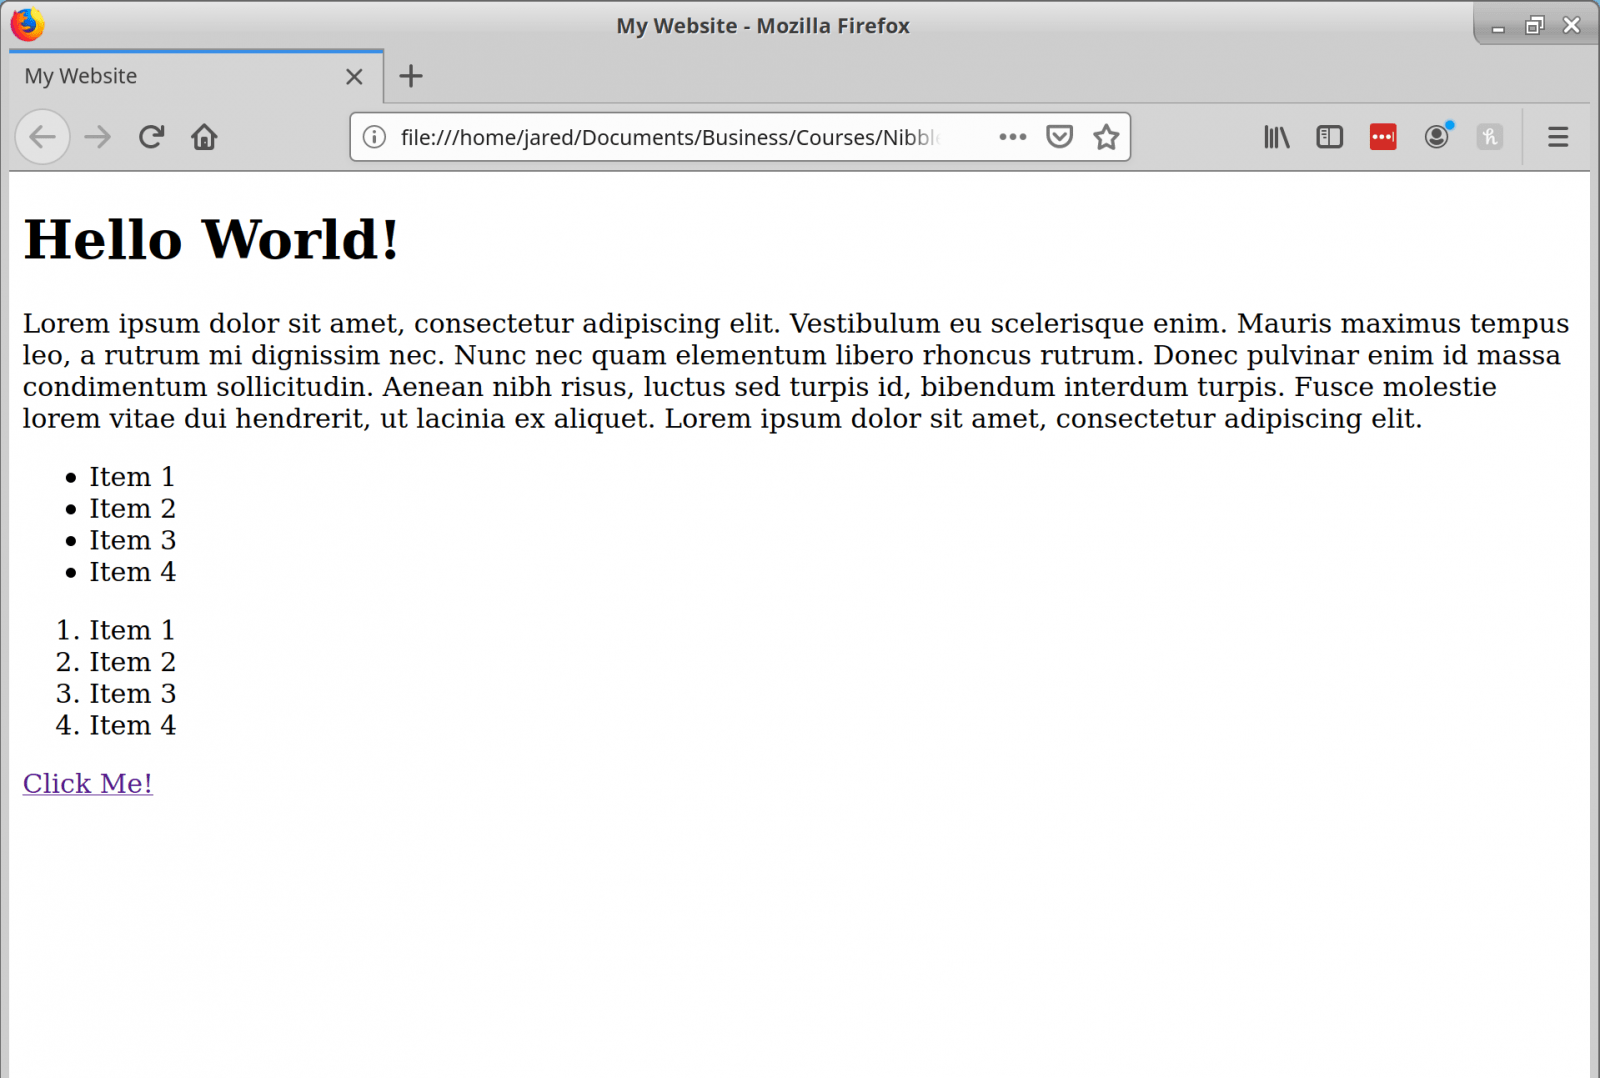
Now, by default this link won’t go anywhere because we haven’t specified the destination. We can add a destination by appending what’s known as an attribute in HTML. Attributes are pretty much key value pairs that we can add to the opening tag of our tag. Let’s add a destination to our anchor tag via the href attribute.
<a href="https://learn.yorkcs.com">Click Me!</a>If we open our index.html file in the browser, we should now see something similar to the following:
That about wraps up this nibble of HTML. Hopefully this guide has provided some understanding of the basics of HTML and how you can get started with it right away. If you would like to learn more about HTML, check out our in-depth beginners course available in our shop!
If you found this guide helpful, and would like to receive news about future tutorials and courses we release, please fill out the form. Sharing this article on any social media platform is also super appreciated. Thanks for reading!